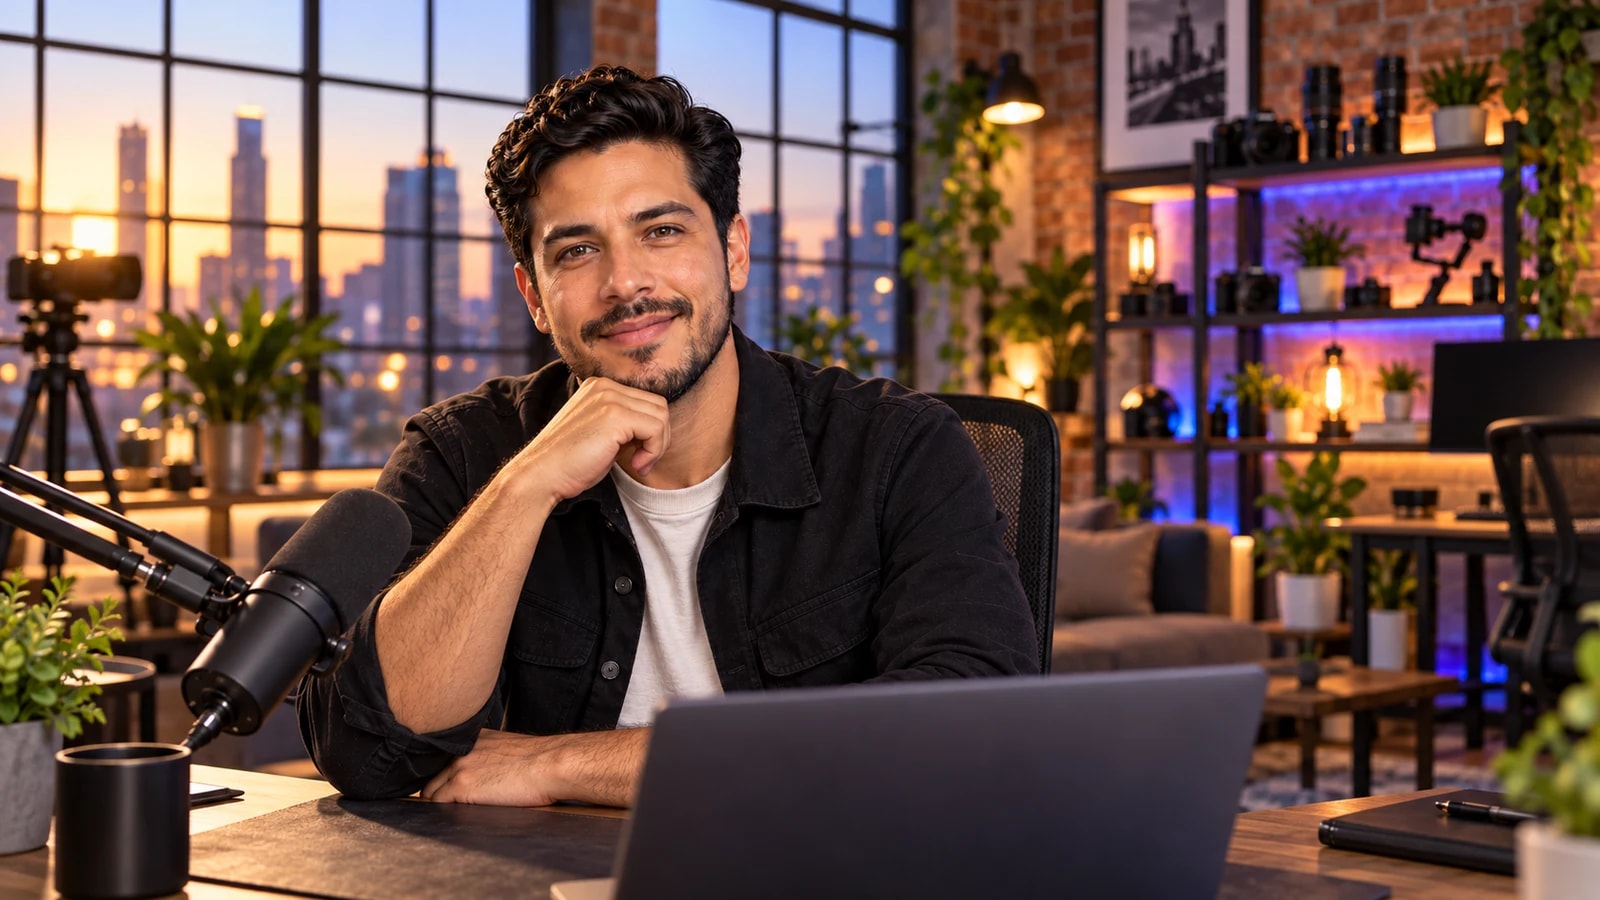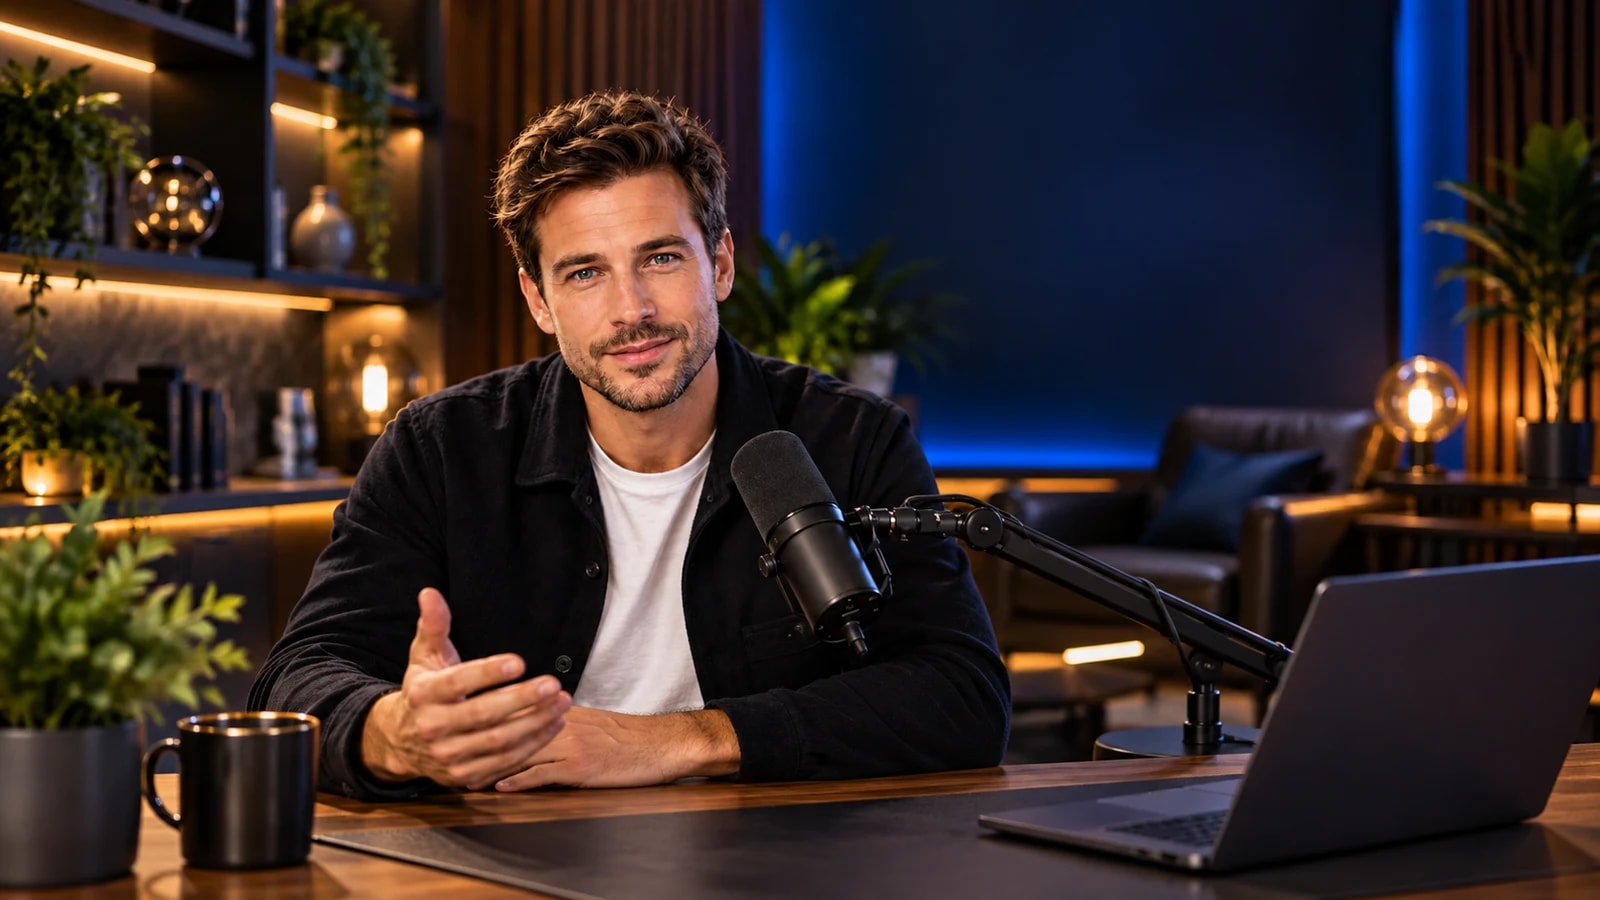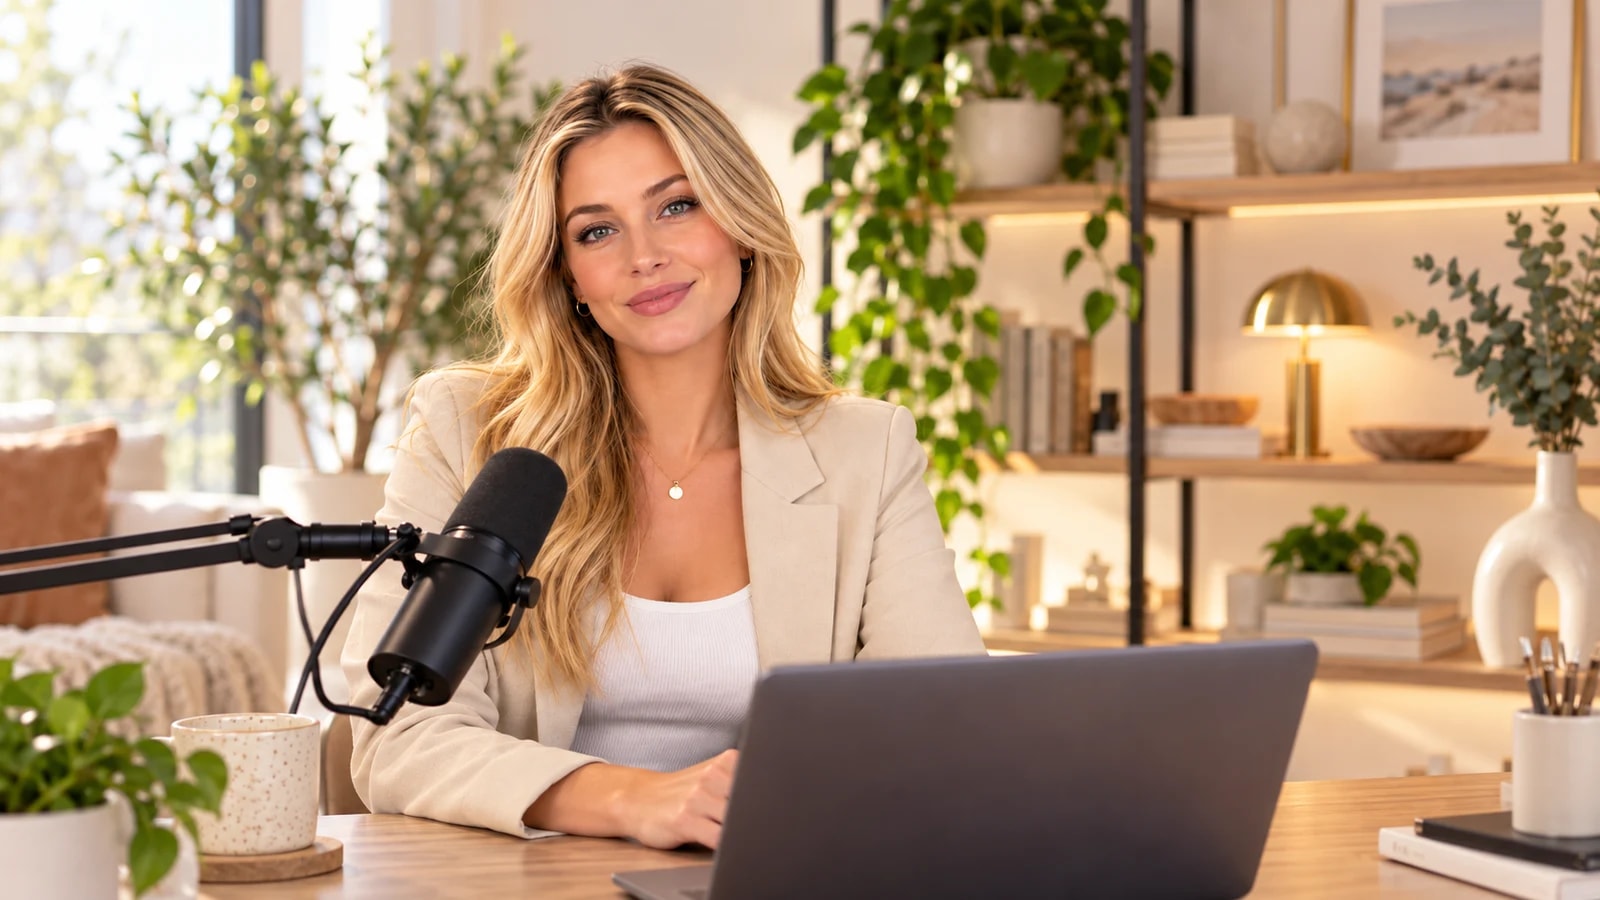
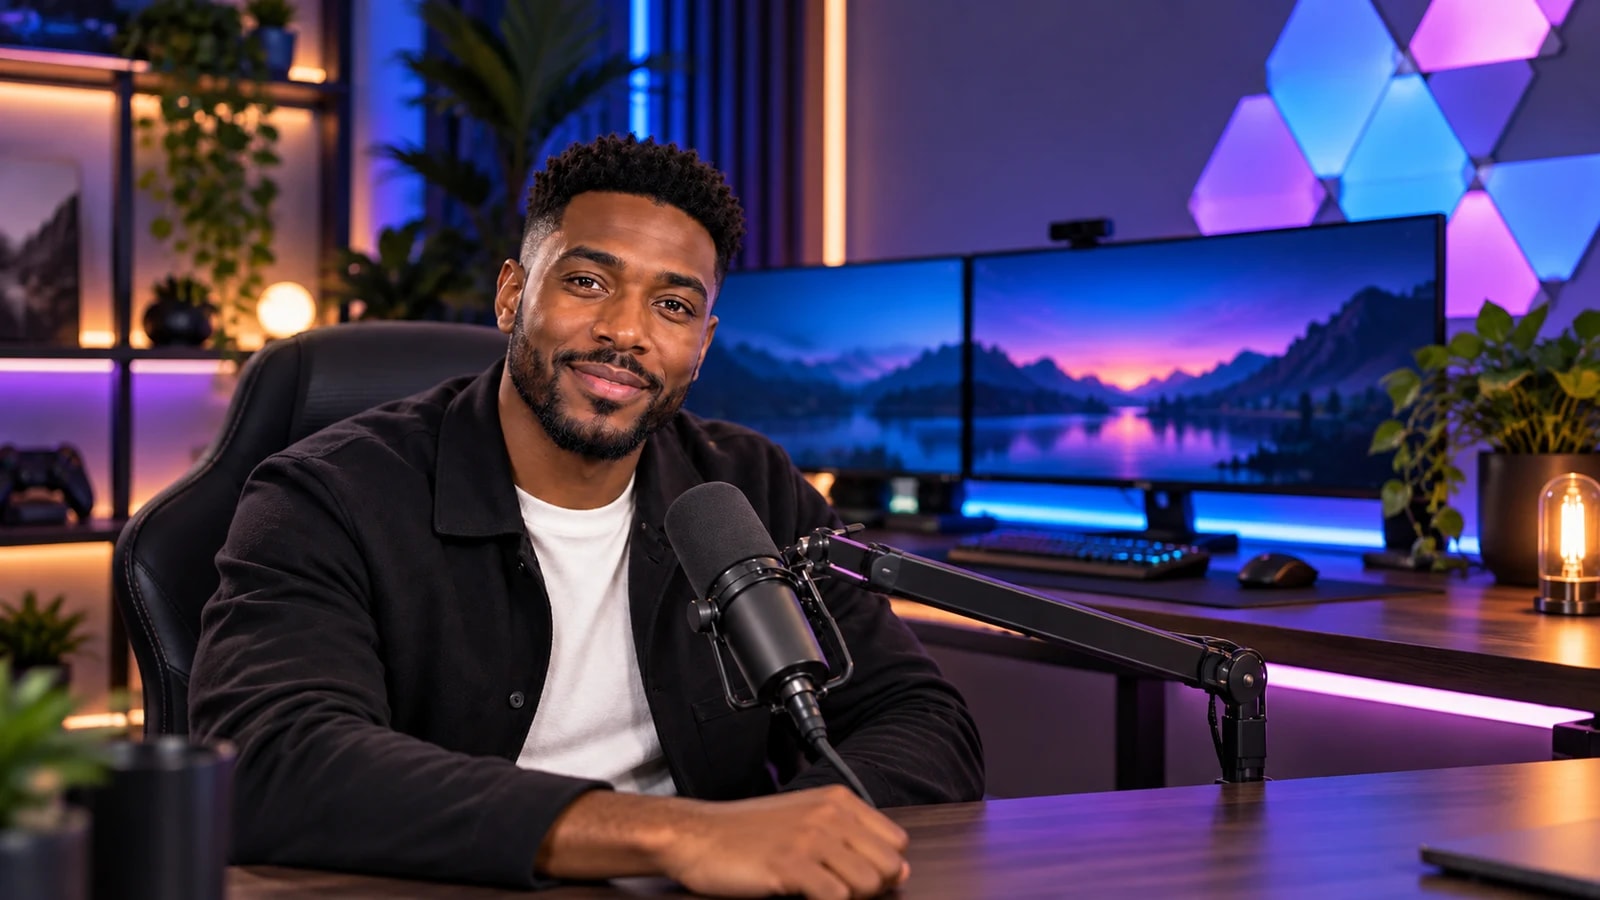
Not long ago, a live show meant streaming software on a powerful computer, a capture card, and guests who had to install something before they could even say hello. Today you can host a live show from your browser: the stage, the guests, the graphics and the Go Live button all live in one tab.
This guide walks you through a first show with Studio Go, from the checklist you need before you start to what happens after you end the live.
Why host your live show from the browser?
A browser studio removes the three things that slow a show down: installing, configuring and explaining.
- Nothing to install. You open the studio in Chrome or Edge on your computer, and so do your guests.
- Guests join from a link. No account, no app, no download: they click, check their camera and mic, and wait backstage.
- Your stream keys stay private. Studio Go goes live without the keys ever reaching the browser, so nobody in the studio can see or copy them.
You still get what makes a show feel produced: branded stages, lower thirds, media and sound control, and a show flow with a countdown, an intro, breaks and an outro.
What you need before your first live
- A desktop or laptop with Chrome or Edge.
- A camera and a microphone. A USB microphone is the single best upgrade for most hosts.
- A stable connection. Use a cable if you can, and close the apps that upload in the background.
- Somewhere to go live: the channels of your platform. In Studio Go you save them once in your dashboard (YouTube, Facebook, Twitch, Kick or your own RTMP server), then pick one for each live.
- Your brand files: a logo with a transparent background, your brand colour, and the names and titles of everyone who will speak.
Step 1: open your studio
Open the studio from your dashboard. It starts in the browser tab, so there is no setup marathon: no drivers, no plugins, no update to wait for. The studio speaks English, French and Arabic, with full right-to-left support.
Step 2: set the stage
Pick a layout first. Studio Go has 11 layouts, from a solo host to a row of guests, and every switch between them animates smoothly, so you can change the shape of the stage while you are live.
Put your brand on every frame
Add your logo (there are three placements), set your brand colour and choose a name-tag style. Save the look as a template, and your next show starts on brand without doing it again. We go deeper in our guide to live stream branding.
Prepare the words on screen
Write the lower thirds for your host and guests, a banner for the call to action and a ticker for the line that should stay on screen. You can preview each one privately before it goes on air.
Step 3: bring your guests in
Send each guest the invite link, by email in English, French or Arabic, or simply share it. They open it in the browser, check their camera and microphone, type their name, and wait backstage until you bring them on. If you run the show with someone, give them the co-host link. Our host's checklist for guests covers the details.
Step 4: line up the show
A live show is more than a call. Line up the parts in order:
- Countdown: a ticking clock with your headline while the audience gathers.
- Intro: your opening video rolls the moment the countdown hits zero.
- Live stage: your guests, your layout, your brand.
- Break: a playlist of clips when you need a breather.
- Outro: a closing video and a thank-you before you end the live.
Turn on auto-start, and pressing Go Live plays the countdown and the intro, then cuts to your stage. See the show flow on the home page.
Step 5: go live and record
Pick the channel for this live, choose the quality (720p or 1080p, at 30 or 60 fps) and press Go Live. You are on air in a few seconds. Studio Go never takes a channel that is already on air, so another live is never cut off by mistake.
Every live is also recorded in 1080p at 60 fps. When you end the live, the recording waits for you in Old records, ready to download. Read how to get more out of your recordings.
After the show
Download the recording, cut a few short clips for social media, and note what you would change next time. Save your stage as a template if you liked it. The second show is always faster to set up than the first.
Questions hosts ask before their first live
Do my guests need an account or an app?
No. Guests join from the link you send them, in the browser, with no account and nothing to install.
Which browsers does it work in?
Chrome and Edge on a desktop or laptop computer, for you and for your guests.
Can I record without going live?
Yes. Start a recording on its own to prepare an episode, a course or a replay you publish later.
Can I stream to several platforms at once?
No: one channel per live. You save your channels once, then pick the one for each live.
Ready for your first show? Compare the plans and open your studio today.